Understanding Vapor Barrier Installation
What is a Vapor Barrier?
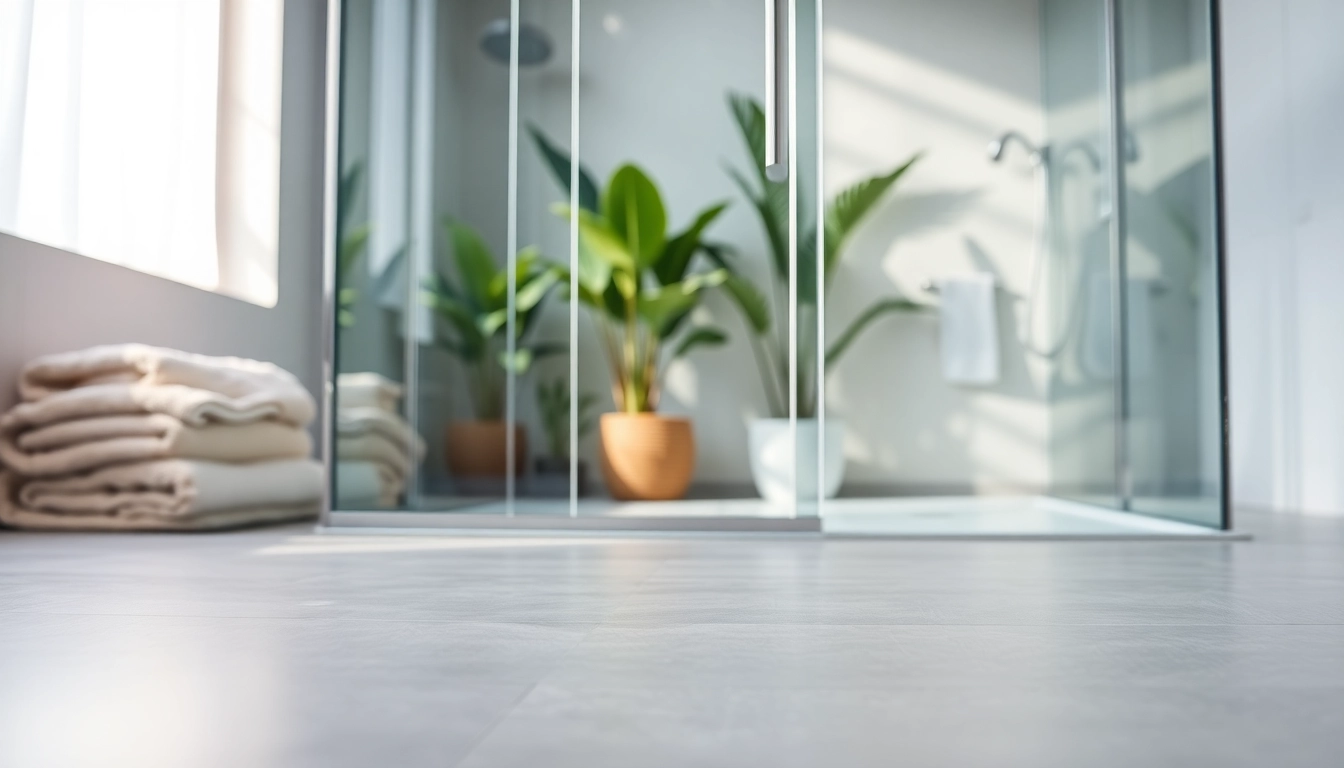
A vapor barrier is a material designed to prevent moisture from passing through walls, ceilings, and floors in a structure. Typically installed in crawl spaces, attics, and basements, vapor barriers are vital for ensuring the structural integrity of a home. In essence, they act as a shield against groundwater and humidity. Commonly made from polyethylene plastic, these barriers come in various thicknesses, helping to reduce the amount of moisture that can penetrate the interiors. With effective Vapor Barrier Installation, homeowners can mitigate risks associated with mold, deteriorating building materials, and increased energy costs.
Why is Vapor Barrier Installation Important?
Vapor barrier installation is crucial for multiple reasons. First, it helps control humidity levels in a home, which is essential for maintaining a comfortable living environment. Excess moisture can lead to mold growth, causing health issues among occupants and leading to significant repair costs. Second, vapor barriers protect wooden structures from water damage and decay, thereby prolonging their lifespan. Lastly, properly installed vapor barriers enhance energy efficiency by preventing the loss of conditioned air, ultimately reducing heating and cooling expenses.
Common Materials Used in Vapor Barriers
There are several materials commonly used for vapor barriers, including:
- Polyethylene Sheeting: This is the most widely used vapor barrier material due to its affordability, durability, and ease of installation.
- Foil-faced Insulation: Often used in conjunction with insulation, foil-faced materials serve as both thermal insulation and vapor barriers.
- PVC (Polyvinyl Chloride): Known for its longevity, PVC barriers are effective in environments with extreme conditions.
Each material has its unique benefits and should be selected based on specific project needs and environmental conditions.
Preparing for Vapor Barrier Installation
Assessing Your Crawl Space
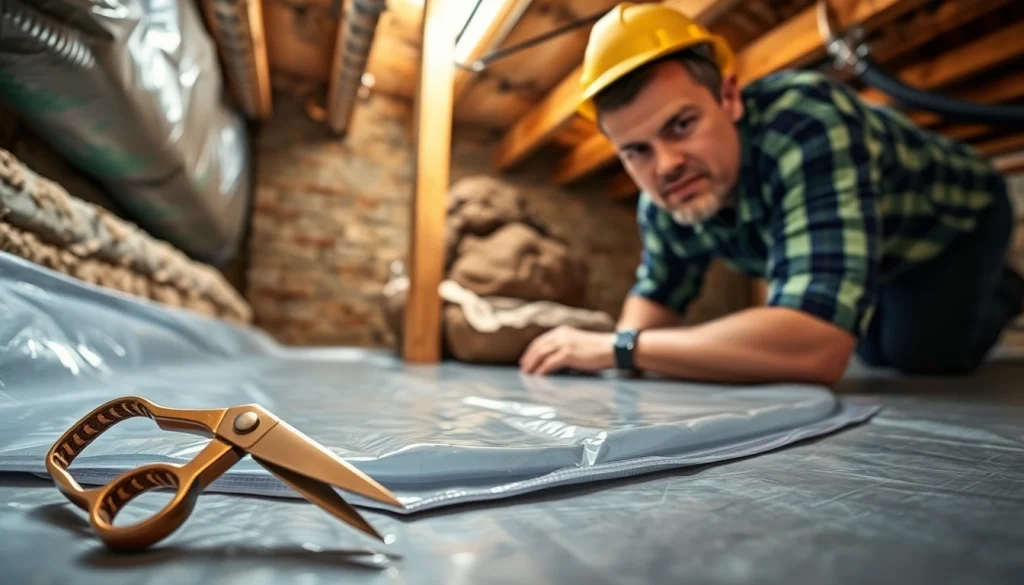
Before proceeding with installation, it’s crucial to assess the crawl space thoroughly. Look for existing moisture issues, such as leaks or excessive dampness. Check for signs of mold growth and inspect the insulation for any damage. Understanding the conditions of your crawl space will help determine if you need additional moisture control strategies, like drainage systems or dehumidifiers, alongside the vapor barrier.
Tools Needed for Installation
Having the right tools ready can streamline the installation process. Essential tools include:
- Heavy-duty plastic sheeting or rolls of vapor barrier
- Utility knife for cutting the material
- Measuring tape for accurate measurements
- Stapler or adhesive for securing ends
- Paintbrush or roller (if using adhesive)
- Safety gloves, mask, and knee pads for personal protection
Safety Precautions to Consider
Safety is paramount during the installation process. Ensure adequate ventilation in the crawl space to avoid inhalation of dust and fumes. Wearing a mask and gloves will help protect against mold spores and sharp materials. Additionally, be cautious of potential electrical hazards if any wiring is present in or around the area.
Steps to Complete Vapor Barrier Installation
Clearing the Crawl Space
To install a vapor barrier effectively, start by clearing the crawl space of debris, insulation, or any other materials obstructing the area. Ensure the space is clean and accessible, allowing you to work efficiently and ensuring a clean surface for the barrier.
Measuring and Cutting the Vapor Barrier
Using your measuring tape, obtain the dimensions of your crawl space. It’s advisable to add 12 inches to your measurements for overlap at the seams. Once you have your measurements, transfer them onto the polyethylene sheet and use the utility knife to cut the material. Aim for straight cuts to maintain integrity during installation.
Securing the Vapor Barrier Effectively
After cutting, lay the vapor barrier on the ground of the crawl space. Start from one side, ensuring that the barrier extends up the walls a minimum of 12 inches. Secure the material in place using a staple gun or adhesive. Overlap seams by at least 12 inches and seal them with tape or additional adhesive for a robust moisture barrier. Ensure that there are no gaps, as any openings could compromise the efficacy of the installation.
Maintenance After Vapor Barrier Installation
Monitoring Moisture Levels
Post-installation, it’s vital to monitor moisture levels within the crawl space periodically. Using a hygrometer can help you keep an eye on humidity levels. Aim to maintain humidity below 60% to inhibit mold growth and protect your home.
Signs of Improper Installation
Recognizing issues early can save time and money. Some signs that indicate improper vapor barrier installation include:
- Visible mold or mildew in the crawl space
- Persistent musty odors
- Visible moisture or pooling water
- Condensation on the walls or barriers
Long-term Benefits of Proper Maintenance
Maintaining your vapor barrier ensures its longevity and effectiveness. Proper upkeep can lead to reduced energy costs, enhanced air quality, and a safeguarded structure. Regular inspections and maintenance checks can help identify potential issues before they escalate.
Common FAQs About Vapor Barrier Installation
What materials are best for vapor barriers?
Polyethylene sheeting is the most common and effective choice, though foil-faced insulation and PVC options are also available depending on the environment and specific needs.
How thick should a vapor barrier be?
A thickness of 6 mil is standard for residential installations, but some situations may require thicker barriers (up to 10 or 20 mil) for enhanced durability and moisture resistance.
Is professional installation recommended?
While DIY installation is possible for skilled homeowners, hiring a professional is advisable if structural issues or moisture damage is present, ensuring proper installation and effectiveness.
Can I install a vapor barrier myself?
Yes, installation can be a DIY project with the right tools and guidance. However, proper assessment of the crawl space and adherence to safety protocols are crucial for success.
What are the costs associated with vapor barrier installation?
The cost varies depending on material, labor, and crawl space conditions. Homeowners can expect to spend between $0.50 to $3.00 per square foot, including materials and installation.